It’s all about salt today!
Do you want to learn how to make the easiest, healthiest, all-natural salt scrub?
Then I have a treat for you.
Today I am sharing my favorite sea salt scrub recipe, which can be used for the face, the hands, the feet, and all over the body, and is going to keep your skin looking young, radiant, and beautiful!
We’ll use simple ingredients (you probably have them in the house already) and it takes only a few minutes to put together.
Plus, we’ll go over commonly asked questions like what the best salt is to use for a scrub and what is the best oil to use. We’ll even talk a little about the spiritual significance of salt.
Ready?
Here we go!
Why Salt?
Let’s start with the most important question of all.
Why salt?
There are many types of face and body scrubs, but a salt-based scrub is a blessing for many reasons.
For one, it is an opportunity to experience salt in a fun way. We are used to adding salt to our food, but using it in skincare can give us a new appreciation for this God-given mineral. A salt scrub cleanses, improves circulation, and removes dead skin cells to reveal beautiful, glowing skin.
Another reason I love salt is what it reminds me of – namely, the Biblical covenant. In the Bible, salt is synonymous with covenant because salt is a preservative that never goes bad. A true covenant is like that. It lasts. God wants us to remember that His covenant will last forever.
Third, salt is a natural ingredient and full of minerals. This means it’s good for you!
This makes it an exceptional ingredient to use in DIY skincare, although it is important to do so responsibly.
What Kind of Salt to Use for a Salt Scrub?
A common question is: what kind of salt should I use for a salt scrub?
Good question!
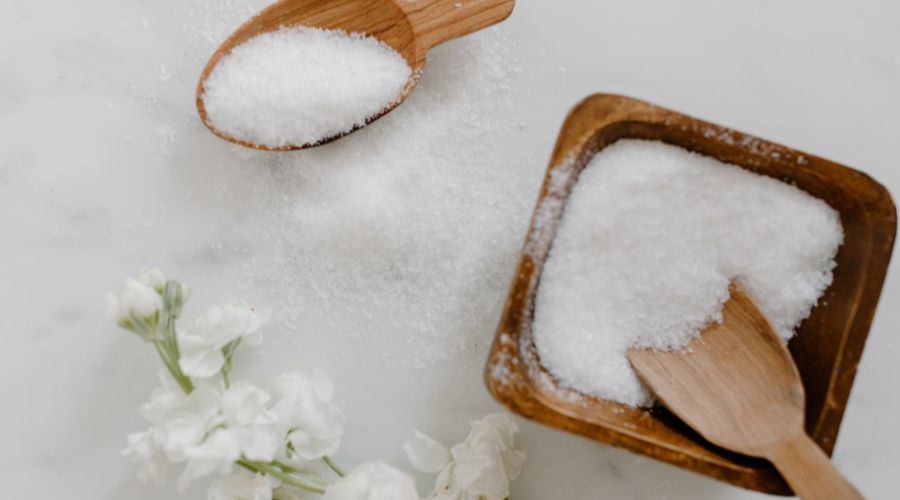
There are many types of salt: table salt, Himalayan salt, sea salt, Epsom salt, et cetera.
Want to know my favorite?
For this recipe, I enjoy using sea salt, specifically, Redmond’s Real Salt, which is high quality, unrefined, and farmed here in the US in beautiful Utah.
Another option is to mill salt crystals with your own sea salt to get a coarser consistency, which is best for scrubs.
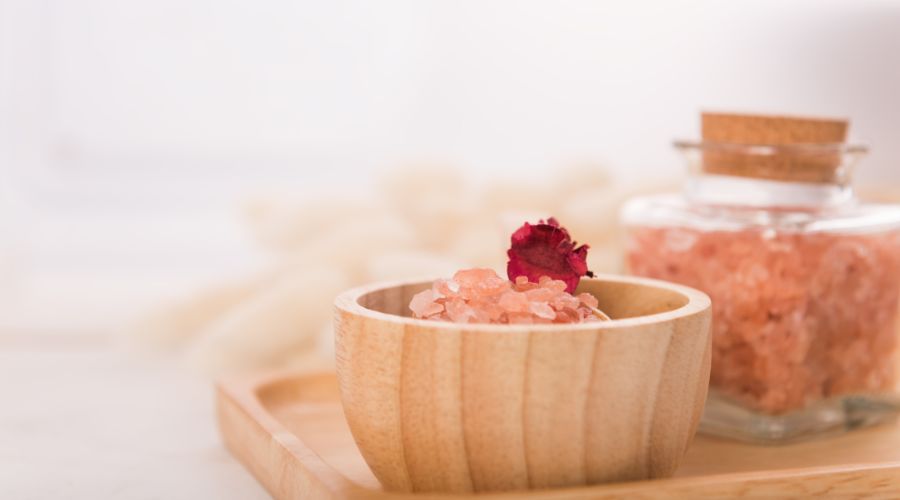
However, if you have extremely dry or sensitive skin, you may prefer using Himalayan pink salt or Epsom salt.
Speaking of dry skin, let’s look at the two types of salt scrubs and why the recipe I’m sharing today is great for all skin types.
Check it out:
What Are the Two Types of Salt Scrubs?
Typically, there are two types of salt scrubs: wet and dry.
A wet salt scrub uses salt but also other ingredients like oil or water.
A dry salt scrub is made of – you guessed it – only dry ingredients.
So which type of salt scrub is the right one for you?
If you have super oily skin, a dry salt scrub may help absorb excess oils and unclog pores.
If your skin is dry or sensitive, a wet salt scrub might be a better option.
Here’s why today’s recipe can work for you, whether your skin is oily, dry, or somewhere in between!
The Best Salt Scrub for All Skin Types
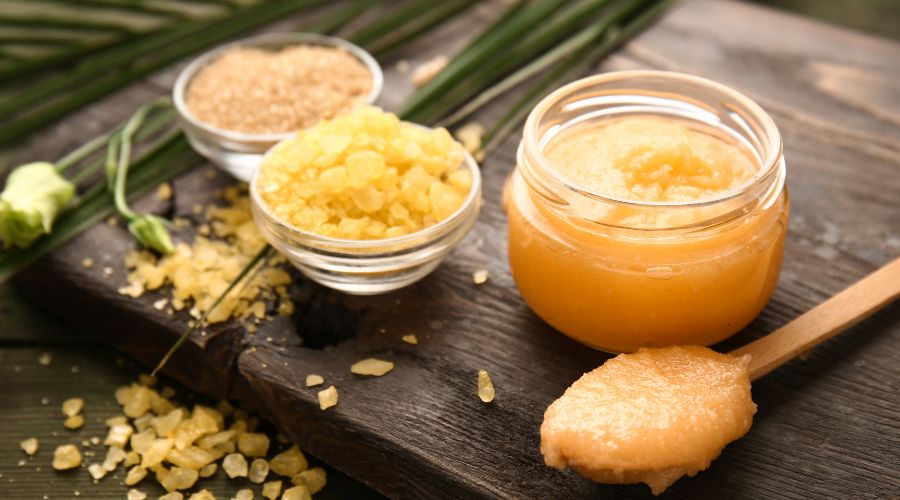
A wet salt scrub using nourishing ingredients like coconut oil is the best way to cleanse, exfoliate, and moisturize skin of all types.
Why?
Well, salt is known as a dehydrating element, so it is going to do the job of removing excess oil from your skin regardless if the scrub is wet or dry.
But by adding in an oil, you can restore moisture and also get a smoother scrub that is easier to apply.
For this reason, I use coconut oil in my recipe and I find it extremely nourishing, moisturizing, and healing for the skin!
This makes it ideal for people of all skin types.
Now let’s look at some benefits of making your own salt scrub at home:
Benefits of Making a Homemade Body Scrub

Why might a homemade salt scrub be better than a store-bought one?
Here are four reasons:
Save money. Making your own salt scrub recipe is a great way to save money. Skincare can be pricey!
Have peace of mind. It’s difficult to know what goes into the skincare products sold at stores. By making skincare at home, you know exactly what goes into the recipe and what is going on your skin.
Have control over the quality of your product. If you prefer all-natural, organic ingredients, making a salt scrub at home can ensure the result is exactly the way you like it!
Never run out. You can make as much or as little salt scrub as needed, and this means not having to run to the store when a bottle runs out! Stock up on ingredients a few times a year and simply throw together a new batch whenever necessary.
Bonus: Sea salt scrub recipes make for excellent gifts! Whip up a batch for a new mama-to-be, a hard-working dad, or another special friend, and see how much they love it.
Sounds pretty good, right?
But it gets better:
Salt Scrub Benefits
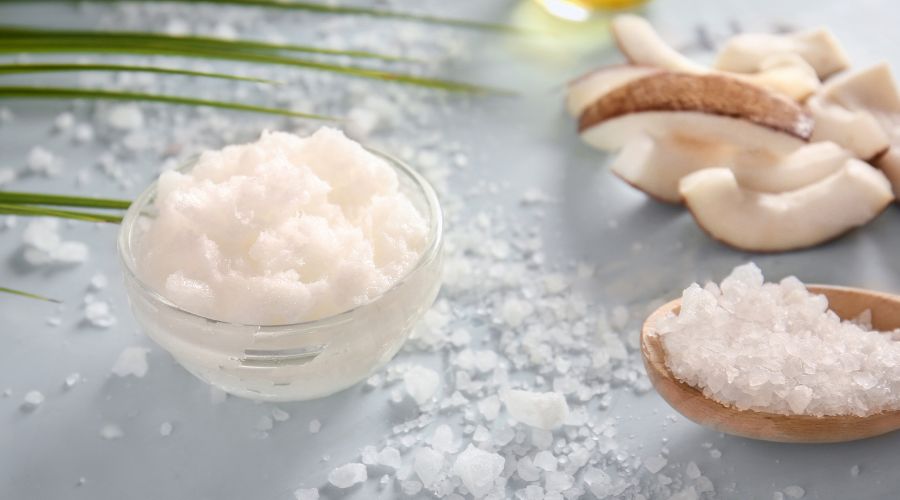
So far, we’ve discovered why salt is great for skincare, what type of salt is best to use for face and body scrubs, as well as the two types of scrubs. We also learned why making your scrub at home can be beneficial.
But what are the benefits to your skin when using salt scrubs?
There are several:
- A salt scrub exfoliates the skin by sloughing away dead skin cells, revealing beautiful, glowing skin.
- It helps even out the skin tone.
- It helps to boost circulation (therefore your skin might appear red or bright pink while using a scrub and after!)
- It helps clear out your pores, which may help prevent breakouts.
- It may even help with muscle aches if used on the body!
By now, you are probably ready to give this DIY salt scrub recipe a try.
Without further ado, here is the recipe for my favorite homemade salt scrub. In the video below, you can watch me make it or keep reading for detailed instructions.
Annette’s Natural Sea Salt Scrub
Prep Time: 5 minutes
Ingredients:
- 1/2 cup milled sea salt
- 1 teaspoon honey
- 1/2 cup coconut sugar
- 1 teaspoon coconut oil
- 3 drops lavender essential oil
- 3 drops of lemon essential oil
- (optional) Lidded glass jar
Make a onetime batch for a self-care day, or make enough to last a few weeks or months. For this reason, I recommend this lidded glass jar to store your scrub in.
Instructions
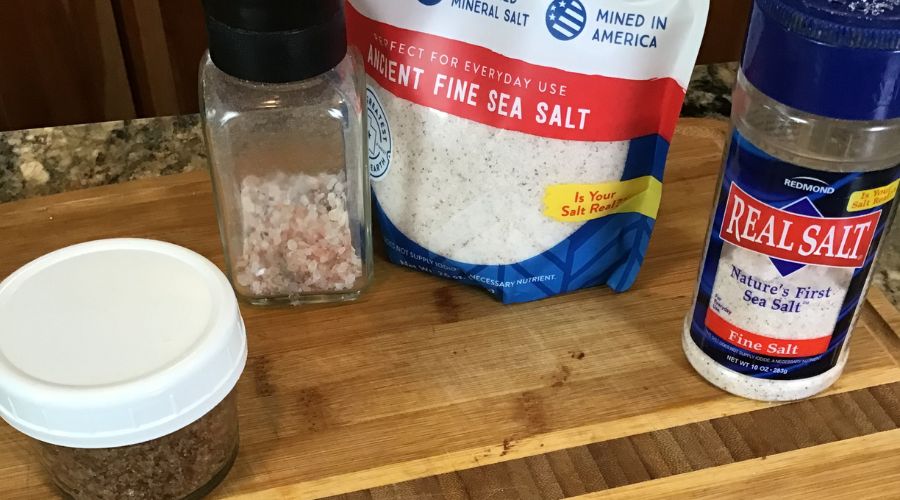
Step 1: Gather Ingredients
My best timesaving tip is to get all the ingredients together beforehand. Take stock of your supplies and note what needs to be replaced or what needs to be purchased.
Step 2: Combine ingredients in a mixing bowl
Start by adding salt, honey, coconut sugar, coconut oil, and essential oils to a bowl. Begin mixing. You might find it a little too dry – in this case, just add a bit more oil. The consistency you are looking for is wet brown sugar.
Once it is all mixed, pack it in a glass jar or immediately start using it!
Step 3: Wet your skin with warm water and apply scrub
This is the fun part!
Here’s how to use salt scrub on your face and body:
It’s best to apply this scrub to clean, damp skin, so first use a gentle soap or cleanser to remove any makeup, oils, or dirt. Then, while your skin is still damp, scoop up a small amount of scrub (perhaps a teaspoon’s worth) and begin applying it to the skin.
Rub in a circular motion with gentle pressure for about 10 seconds before moving on to the next section.
If using this scrub on your face, be gentle! There’s no need to scrub hard or use a lot of force. The salt (especially if it is a coarse texture) will do the exfoliating for you. So use light pressure while massaging it over the face.
If using it on your feet, elbows, or other parts of the body, it’s okay to use a little more firmness as you apply it, even so, don’t go crazy. With coarse sugar and salt, you’ll get plenty of an exfoliating effect without aggressive scrubbing!
Afterward, rinse the scrub off and pat dry. It isn’t necessary to wash with soap as you want to keep that moisturizing effect from the oil and honey.
And that’s it!
You can save the leftover scrub for another day or pack it up into a pretty jar, tie a ribbon around it, and gift it to a friend. It makes for a wonderful “just thinking about you” gift, as well as a Mother’s Day, Christmas, or birthday gift.
But now, I’ve just got to know…
Were you tempted to taste it?
I know I was!
Frequently Asked Questions
Last but certainly not least, let’s go over some frequently asked questions about salt scrub recipes.
Can I use this scrub on both my face and body?
Yes! But remember to be extra gentle while applying to the face.
When using sea salt scrub for your body, you may like to do it in the bath or shower, and perhaps put some scrub onto a washcloth and use this to apply. Start at your feet and work in small sections all the way up the body toward the heart. (Similar to dry-brushing.) Then rinse and pat dry.
What is the best oil for salt scrub?
Coconut oil is my favorite. It is a wonderful moisturizer when used in a body scrub. People with extra dry skin will probably see significant benefits from using it.
However, some might find coconut oil clogs their pores (especially on the face). If this is the case for you, consider swapping the coconut oil in this recipe for extra virgin olive oil, which is less comedogenic.
Grapeseed oil is a popular option too, I hear.
How do you make salt scrub?
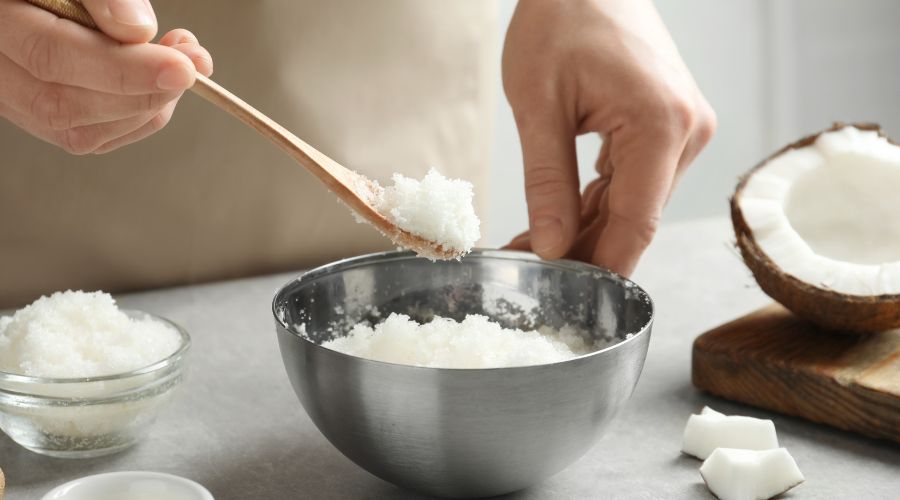
A salt scrub recipe is easy to make! You need only a few ingredients and these are easily mixed. Salt will always be the principal ingredient in a basic recipe, but sugar and oil mix really well with it. I enjoy adding essential oils as well.
Others may enjoy a sea salt recipe with Castile soap or one with jojoba oil. Essential oils are lovely ingredients as well, but always research to ensure they are safe to use on the skin, or if they need to be diluted with a carrier oil. Dead sea salt may work as well.
A few more ingredients to experiment with:
- Crushed rose petals
- Vitamin E oil
- Shea butter
- Dried herbs
- Lemon juice (use sparingly!)
- Date sugar
Try these different ideas and see what you prefer. There are so many ways to make a homemade salt scrub recipe special and get more benefit out of it for your skin.
Which is better: sea salt scrub or sugar scrub?
To me, this is a matter of preference. I love the mineral components in salt, as well as the spiritual reminders it gives me. But I love the extra exfoliation sugar offers. That’s why I combined both in this sea salt scrub recipe.
Final Thoughts
I hope you enjoy this homemade sea salt body scrub (or face scrub)! Use it once or twice a week to keep your skin soft and smooth.
Another way to enjoy this recipe is to gift it to others. Your friends and family will love this natural DIY beauty treat and appreciate you taking the time to make it for them. A little jar is great for a stocking stuffer or in a basket of goodies on Mother’s Day!
Finally, always remember that our skin is a precious organ and a gift from God. Let’s take the best care of it we can, using the best ingredients possible.


