Easy and Practical Ways on How to Store Fresh Strawberries
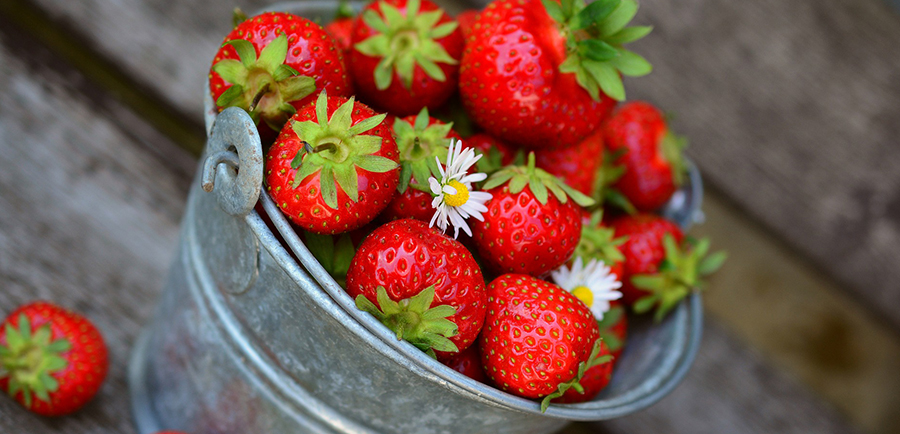
The beach, plenty of sunshine… Strawberries!
Don’t you just love summer? It’s that time of the year when you can enjoy fresh strawberries that taste absolutely amazing.
If you have a strawberry patch in your yard and you’re wondering how to store fresh strawberries, so you can save them for the winter or at least just to keep them fresher for longer, hang tight -
I have these great tips to share with you on how you can prolong the lifespan of your fresh strawberries.
Keep these tips in mind to make sure your fresh strawberries remain sweet, soft, plump, and oozing with flavor!
Let’s get to it!
Know These “Don’ts” When Storing Fresh Strawberries
Fresh strawberries are undeniably delicious and nutritious but they are also quite delicate.
They can go bad quickly unless you know how to store them properly.
You don’t want to just leave them on the counter or in the fridge with the original packaging, they certainly won’t last.
With the wrong technique (or with no technique at all), you’ll end up having a big bunch of moldy, soggy, sour strawberries that are likely to end up in the trash.
But don’t fret - we can keep those berries in excellent condition for a long time. In fact, you can even keep them for a few months with proper storage!
How?
Here are some don’ts you need to remember on how to store fresh strawberries the right way.
1. Do Not “Overwash”
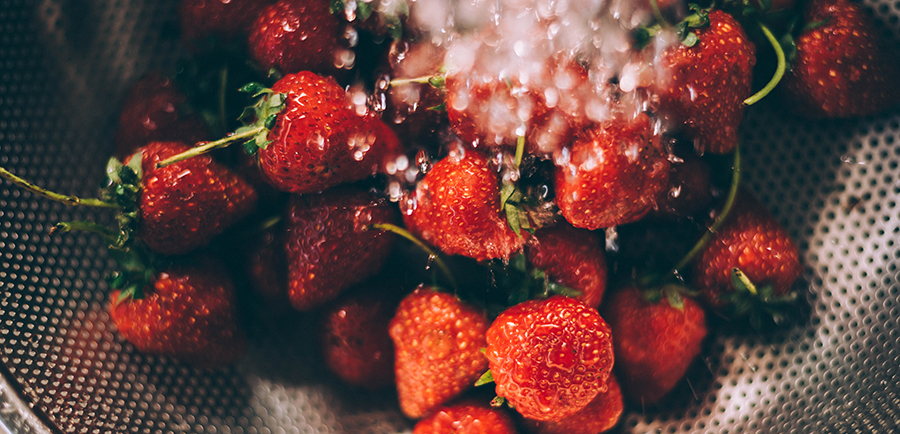
There is nothing wrong with washing your strawberries.
In fact, you HAVE to do it, otherwise, you’re just devouring dirty berries.
BUT you should know when to wash them and when NOT to wash them.
Generally, you should only wash strawberries when you’re ready to eat them.
What’s Wrong With Washing?
You see, strawberries are kind of like sponges.
They easily soak up moisture… Yep, just like a sponge. So when they get wet, they get really mushy, causing them to spoil quickly.
And that’s not all.
Wet and spongy strawberries are most likely to get molds.
This is why the rule of thumb is to only wash them when you’re ready to munch on them.
2. Don’t Snip the Stems
Nope, it’s not just to keep them pretty.
Stems actually serve a purpose of prolonging the shelf life of your fresh strawberries.
And this goes without saying that when you’re at the market shopping for strawberries, it is best to buy those with stems. Or when you’re picking your own berries in your yard, be sure to keep the stems and not trim them too far down.
3. Don’t Let Molds Spread
Molds are the enemies of fresh strawberries.
They can quickly turn a basket of fresh, firm, sweet strawberries into a big bag of mush.
Yuck!
Got molds?
If you have strawberries in a container, make it a point to inspect them thoroughly. Remove the ones with molds RIGHT AWAY.
Molds easily and quickly spread, so the last thing you want is to have one moldy berry infect the other ones in the container.
Remove the bad berries to save the rest from spoilage.
And another thing - if you’re shopping for berries at the store, be sure to be as meticulous as possible before picking them out. Flip individual berries over and inspect carefully.
Don’t even consider buying a pack with a moldy berry. Mold spores spread easily. There’s a LOT more in the bunch that you’re better off bringing home than a single bad, moldy strawberry that will turn the rest into mush.
Sometimes though, you miss one that has mold on it. I’ll tell you what to do if that happens below.

Storing Techniques for to Prolong the Lifespan of Fresh Strawberries
Now let’s talk about proper storage places for your fresh strawberries.
Where should you keep them and for how long are they going to be good to eat?
There are four ways.
On Your Countertop
Thinking of devouring those berries right away?
No need to keep them in the refrigerator. Just putting them on the countertop should be perfect.
BUT, keep in mind an important reminder...
Ideal Temperature
If you decide to keep your strawberries on the countertop, you need to be sure to eat them fairly quickly.
You should also consider the temperature in your home and whether it’s hot and humid.
Leave your strawberries at room temperature but not when it’s really hot.
Step 1 - Keep them in the Original Packaging
In case you want to leave them on the countertop, you may also do so for a day if it is not very hot in your home.
Just keep them in the original packaging instead of putting them into your own container.
Step - Take the Moldy Ones Out
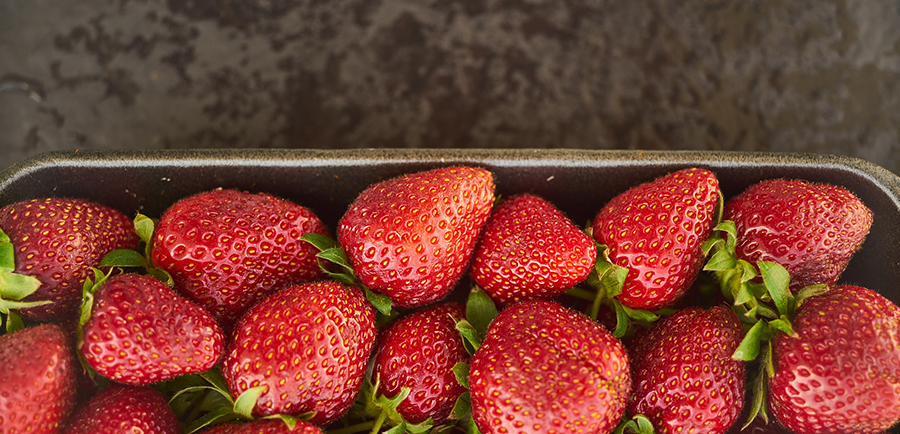
Inspect the bunch and take out the moldy berry to prevent the mold spores from spreading.
As I mentioned, sometimes you just don’t see it. So the best practice is to get it out of the bunch.
Step 3 - Wash Before You Eat
Again, don’t wash your strawberries unless you’re ready to eat or use them in your recipe.
Step 4 - Don’t Leave A Trace!
Since you’re just leaving the berries on the countertop, you need to make sure you’re not keeping them longer than a day if you don’t plan on eating them all.
If you feel you had enough berries for a day, then you can do the next storage technique.
In the Fridge
Strawberries are yummy and healthy to eat but you can only eat so many before you’ve had your fill and are done for the day.
If you are not planning on finishing the whole bunch in one sitting, then you should put your fresh strawberries in the fridge.
This helps retain the humidity and prevent the berries from losing their moisture or becoming overly dry.
For How Long?
The crisper drawer in your fridge is the perfect place to keep your strawberries.
With the right techniques, your fresh strawberries should be in good condition even after 5 to 7 days.
But keep these steps in mind.
Step 1 - Remove Stems
When you are ready to store your berries in the fridge, you can store them with the stems cut off.
Don’t use the original packaging anymore since you will need a container that can be closed partially or fully.
Step 2 - Put a papertowel in a Container with a Lid
Get your paper towels ready and line the container with them.
Your paper towels will help absorb excess water and moisture. Remember, moisture is a good breeding ground for molds, so you don’t want moisture in your strawberries to prevent them from going bad even when in the fridge.
Step 3 - Arrange the Strawberries Inside
Don’t wash your berries just yet. Only wash when you are ready to eat them or use them up.
With the stems cut off and the container lined with paper towels, arrange your berries on one layer to prevent them from collecting moisture or getting squished.
Step 4 - Seal and Label
Once you have arranged your berries neatly in the container, be sure to seal it well.
Put a label on the outside and indicate the current date. This way, you’ll know how long your berries have been sitting in the fridge in case you decide to eat them later.
Freeze Them
No plans of eating your berries after a couple of weeks to maybe even a month?
Then you HAVE to freeze them.
There are several steps to follow to keep them in an excellent condition before you freeze them up, and here they are:
Step 1- Vinegar Bath
Rinsing them in water is not enough. You want your berries to be cleaned really well to prevent harmful bacteria from growing and destroying your fresh berries.
Why Bathe in Vinegar?
Vinegar is potent for killing nasty bacteria in your strawberries.
With these harmful bacteria exterminated, you can be sure that your strawberries will stay fresh for a longer time.
And no, your strawberries won’t taste like white vinegar because you’ll apply the next step...
Step 2 - Rinse Well
After you bath, your strawberries in vinegar, rinse them well.
Use clean, filtered water for doing so to avoid contamination. After all, your strawberries are already clean after the vinegar bath.
Step 3 - Remove Stems
Cut off the stems and remove the leaves.
Keep the stems intact will only make it tough to remove them later on once your berries are frozen.
Step 4 - Dry Them Up
Using paper towels, be sure to dry your berries really well.
Pat them gently and avoid crushing them as you dry. Inspect individual berries to be sure they are thoroughly dried.
Step 5 - Put in a Sealed Container or Ziplock Bag
With the stems removed and the berries dry, you can either halve them or just keep them whole.
It’s entirely up to you depending on what you want to do with them.
Store the berries in either an airtight container or a zipper bag. Just be sure to put the date of purchase on them so you’ll know how old your berries are before you decide to use them.
Freeze… With a Twist!
This is another technique you can do before you freeze your berries. The good thing about this technique is that you can keep your strawberries for as long as 12 months!
Can you believe that? Strawberries for a year!
Halved Strawberries + Sugar, lasts 8-12 months. (And yes, a sugar substitute will also work great!)
I never use refined white sugar in any of my recipes, but for the sake of simplicity, I’m going to call it “sugar.”
Here’s a video on the best sugar substitute you probably haven’t heard of yet, check it out!
Step 1 - Get Your Materials Ready
For this approach, you need a few materials including some sugar (like stevia or monk fruit), an airtight container, and your fresh strawberries.
Step 2 - Rinse
Gather all your berries in a colander and rinse them well in filtered water. Then, dry them up with paper towels.
Step 3 - Cut Them Up
Depending on how you plan on using your berries, later on, cut them up to your desired style.
Maybe you want to halve them for your smoothie or slice them up for your baking needs.
It is all up to you how you want to cut or slice the berries.
In fact, you can even keep them whole if you want!
Step 4 - Add the Sugar
Now, this is the most important thing.
It is also the secret behind the prolonged shelf life of your fresh strawberries aside from freezing them up.
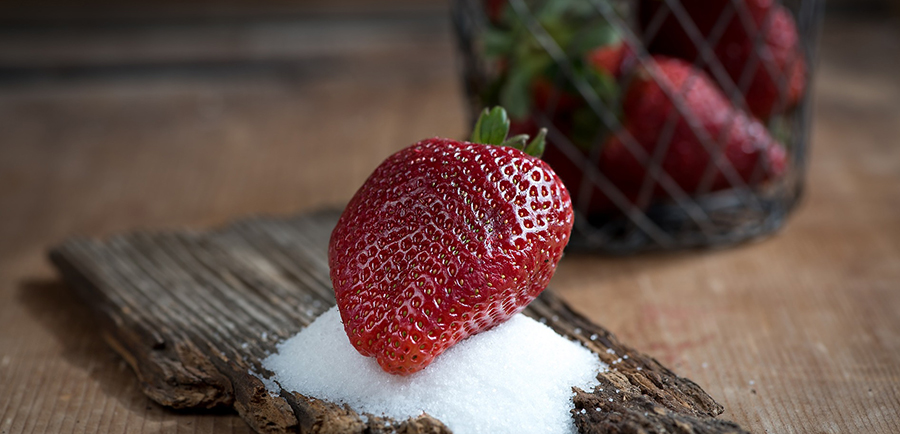
For 10 ounces of strawberries, you will need 1/4 cup sugar.
Step 5 - Stir
In another bowl, place your rinsed and dried strawberries and stir the sugar in until it melts. You want the mixture to be thick - not mushy or soupy.
Step 6 - Drain
Drain excess water. You want it to be just a strawberry and sugar mixture and absolutely no water included.
Step 7 - Freeze
Next up, place your strawberries in a container. No need to put paper towels here. Just be sure the berries are dry and coated well in sugar.
Seal the container and store in the freezer for up to a year.
What to Do With Frozen Strawberries?
Frozen strawberries are great to use for a number of things.
You can use them for smoothies or shakes, for your breakfast or post-workout drink.
If you like to use strawberries for baking, you can also use your frozen ones after thawing them.
Strawberries that are previously frozen can also be a good addition to your overnight oats!
How Long Will They Last?
Frozen strawberries mixed in with sugar can last from 8 months to a year.
Bag or Container?
It is entirely up to you where you want to put your strawberries before freezing them.
The most important thing is that it is sealed well and there is a label on the outside of the container or bag.
Dehydrate Your Berries!
One other thing you can do to store your fresh berries… Or should I say, one way to use your fresh berries...
Dehydrate them!
Dehydrated strawberries are great quick and nutritious snacks for camping or hiking. You can also enjoy munching on your dehydrated strawberries while you’re out and about or you want a healthy and sweet snack.
I have a few videos that you can check out on dehydrated strawberries and also dehydrated vegetables to give you ideas on how easy it is to do! Check how to dehydrate strawberries below!
Store Your Fresh Strawberries the Right Way, Enjoy Them All Year Round!
You see, strawberries may be primarily a summer fruit, BUT you can definitely have a constant supply of these tasty berries longer than just a few months.
By applying these techniques on how to store fresh strawberries, you can have an abundance of berries in your fridge or freezer for a longer time.
Try these out today and let me know how you prefer to store your strawberries and your favorite dishes with these lovely little fruits.
I have a TON of recipes that you can try out, so just let me know in the comments if you need more tips!


