Grinding wheat at home is a fun, cost-effective way to guard and maintain health.
I have been making my own freshly milled flour at home for years and I will never go back! The health benefits are incredible and so is the taste. Store bought flour just doesn't compare.
The best part is, making flour at home is easy.
In today’s article, I’ll share everything you need to know in order to make your own freshly milled flour at home. This includes:
what machinery you will need to grind grains
how to store your freshly milled flour
the different berries and grains to use
and more!
But before we get started, let me share why everyone should mill their own grain.
When my family was sick and tired and our health was escalating out of control in our early 40s, my friend Kim advised us to mill our own grain – I had this crazy vision of a horse and millstone in the backyard.
That was so far from reality! Let me show you just how simple it really is.
How To Make Flour At Home
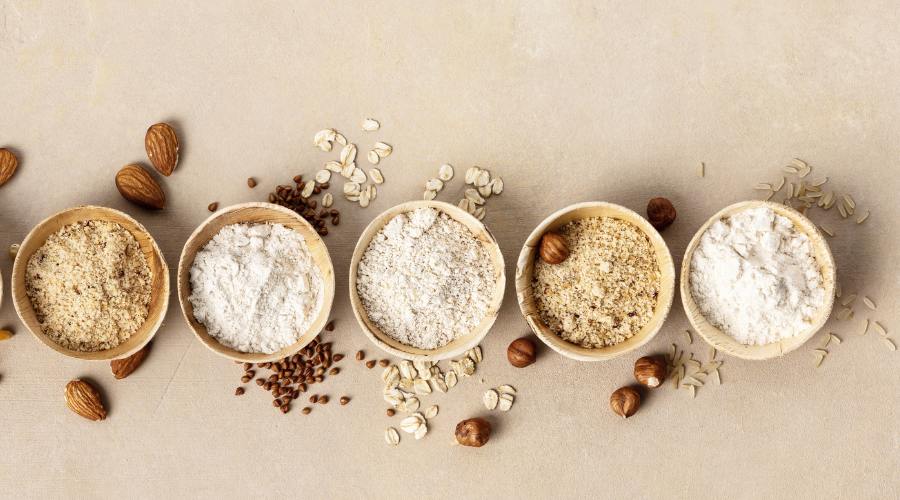
To make flour at home, only two things are needed (and happily, neither require a horse):
An electric or hand tool to turn whole grains into flour
Wholesome grains to grind
Once you have these, you are well on your way to leaving behind the ultra-processed all purpose flour from the grocery store.
Note: For a list of grain mills sorted by your kitchen space and your budget, check out this list of top grain mills.
And, you can see the best places to buy bulk grain in the U.S. here.
With the right grain and mill, here’s how flour is made step-by-step:
Add your grains into the mill’s grinding compartment.
Press the ‘on’ button (or start turning the grinding lever, if you use a hand mill)
Watch your grains turn into flour.
Crazy simple, right? In fact, to make it even easier, I show the exact process in this video:
Once you know how to make the flour, you are set to make any number of recipes, from bread to delicious cinnamon rolls to cookies, pumpkin bread, and more!
Get ready to say hello to delicious, nutrient-rich homemade flour!
Your body – and taste buds – will thank you.
Let’s dive into the first step, choosing the method you will use to turn grains into flour.
3 Types Of Mills For Making Flour
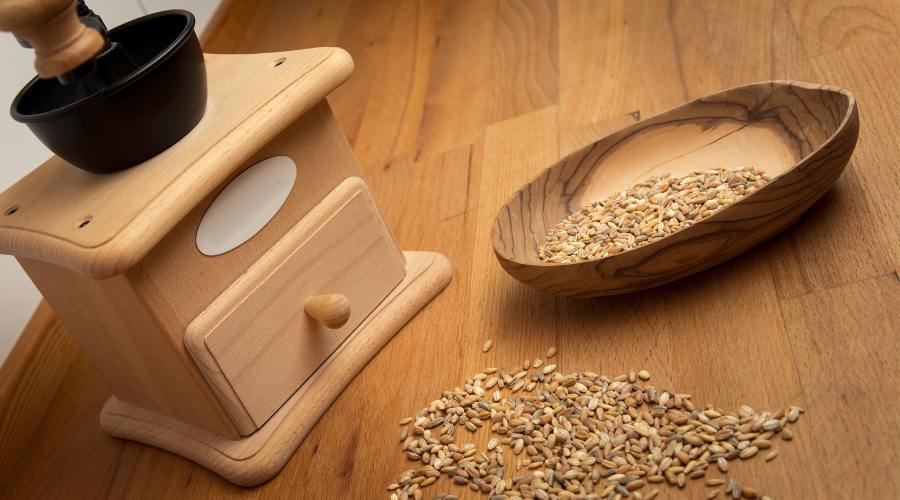
There are lots of home mills to choose from. So much so, it can be pretty overwhelming when you research!
Let's start with the basics.
There are three milling options for grinding wheat at home:
Electric mills
Hand mills (manual)
Blender
So how do you decide which mill? Here are the options to identify which will best meet your needs.
Electric mill
If you have a large family or plan on grinding large quantities of grain, an electric mill is worth investing in. This option simply requires pouring the grain in, turning it on, and watching the mill do its stuff!
Plus, you can adjust settings to get just the right flour texture.
One of the best electric mills is the Mockmill Lino 200 and you can check it out here.
My favorite, though, is a great budget option: the Mockmill Grain Mill 100. You can learn about it here!
In this video, I show you why the Mockmill Grain Mill 100 is my favorite, plus a couple more grain mill options to choose from:Hand mill
Now, if you’ve ever wondered how to make flour from wheat by hand – this would be a slightly different process. But it’s no less simple.
Hand mills are smaller and more economical than electric mills.
They are a good option if you are on a budget, have a small kitchen space, or simply prefer non-electric kitchenware. They are also a necessity for when power goes out so you can continue cooking healthy food.
They take some muscle, but if you are only grinding small portions of grain, they are 100% feasible!
My favorite hand mill is the Country Living Hand Grain Mill. While it doesn’t grind oily grains, seeds, or nuts, it’s very durable and can turn dry grains into flour as fine as pastry flour. Check it out here.
An excellent option if you are on a budget is the Victoria Manual High Hopper Grain Grinder. Click here to learn more about it.
Blender with a Dry Blade Option
If your blender can blend dry ingredients, this might be a way for you to start making flour today.
And, this is actually what I started with when I first began making my own flour!
I have a Vitamix with a Dry Blade container and it does a great job. This high speed blender creates finely ground flour in seconds. I know a Vitamix can be quite pricey, but trust me: it's so worth it in the long run if you plan to grind your own grains.
Similar to a food processor, there’s plenty you can do with a Vitamix. Make protein shakes, delicious smoothies, and grind wheat berries for bread baking, all with one handy machine.
Organic Whole Grains To Make Flour
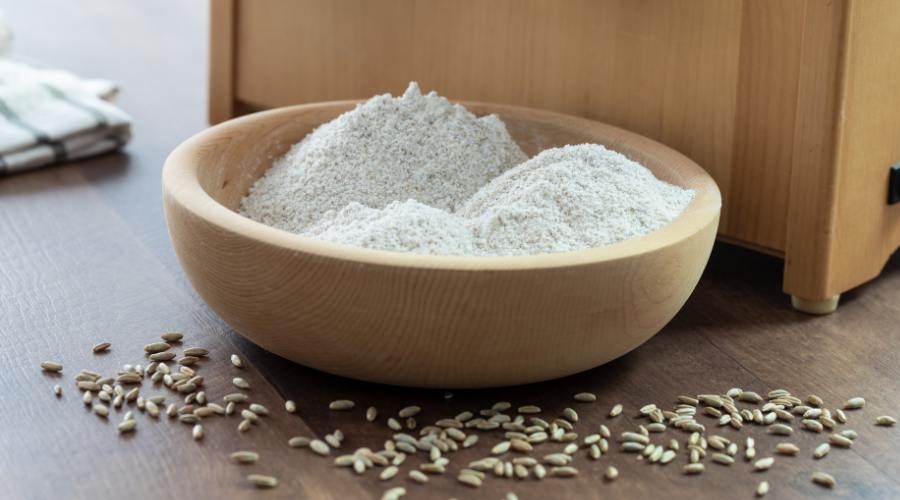
The second piece to the puzzle of making your own flour is the grain itself.
Grocery stores don’t carry whole grain berries, much less products like oat groats, wheat berries, or buckwheat (to give you an idea). So instead, check your local farmer’s market or (if you live near them) Amish stores for organic, non-GMO grains.
Look for grains that are organic. If not organic then the package must state non-sprayed.
If you don’t have local options, there are online stores that provide top-notch quality grains at great prices. I like to buy in bulk to save money, and my favorite place for that is Country Life Natural Foods, which you can check out here.
And, here are a few other best organic grain suppliers I’ve found where you can buy wheat berries and plenty more.
Frequently Asked Questions
How to store freshly ground flour?
To retain all of its nutritional quality, freshly milled flour should be used right away. But if you like preparing your flour in advance or simply have some left over, here’s how to store it:
Store freshly ground flour in an airtight container and keep in a cool, dry place.
Make sure the container is resistant to both moisture and pests to keep the homemade flour from going bad too quickly.
How long does home milled flour stay fresh?
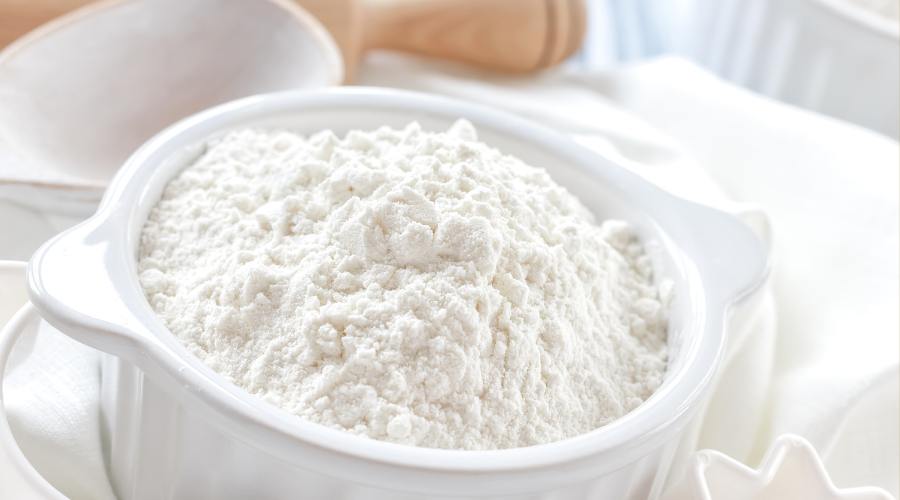
Freshly ground flour can be stored at room temperature in an airtight container for up to three days. (But probably less if you live in a humid climate. You may have to experiment a bit or do further research.)
In the fridge, you can store homemade flour in Tupperware or Ziploc bags for 4-7 days. As long as the container is moisture-resistant, it should be fine.
It can also be in the freezer for up to one month.
Again, fresh flour is best consumed fresh! Unlike all purpose flour or store-bought flours, freshly milled whole grain flour retains the three parts of the wheat berry. This means it is chock full of nutritional value – but also spoils faster.
What Flours Can I Make At Home?
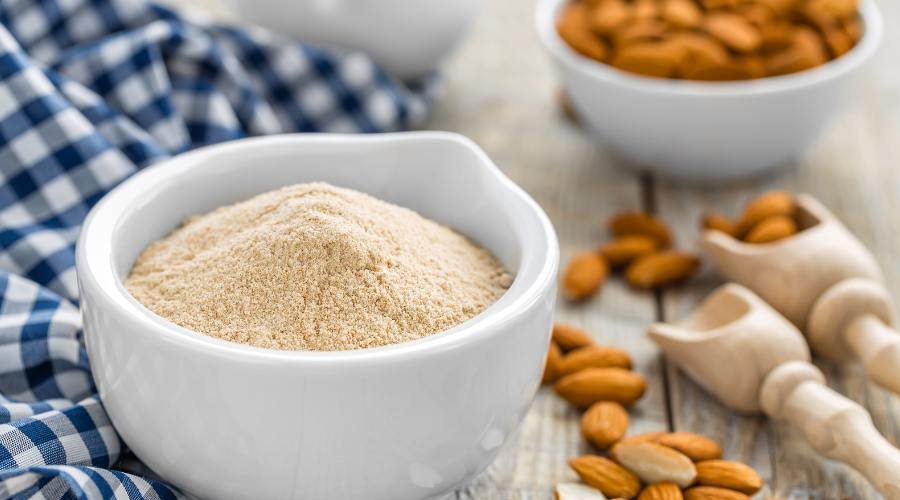
Here’s where baking is fun! There are so many flours you can make from different grains, not just whole wheat. And after tasting these, you will see how store bought flour just doesn't compare.
Here’s a few of them:
- Wheat flours from wheat berries (whole wheat flour, red wheat flour, etc.)
- White flour (all purpose flour)
- Spelt flour
- Kamut flour
- Einkorn flour
- Emmer flour
- Buckwheat flour
- Rye flour
- Oat flour
- Rice flour
- Brown rice flour
- Organic wheat flour (if you’re going to make homemade flour, it might as well be organic!)
- Bread flour
What can I grind into flour other than wheat berries?
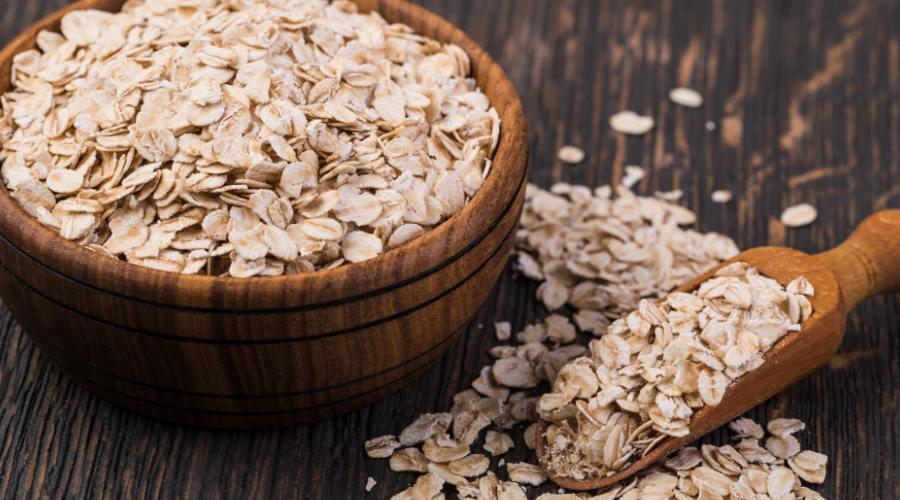
Wheat berries are one of the most popular options to make ground flour with, but they are certainly not the only one.
Whether you are baking bread, cookies, rolls, or some other delicious treat, it’s fun to experiment with different grains, berries, and seeds for new flavors (and amazing health benefits, of course).
You can use these in your grain mill and make unique flavors for every recipe imaginable:
- Gluten free grains
- Buckwheat
- Whole wheat berries
- Soft white wheat berries
- Organic rye berries
- Oats
- Gluten-free flour
- Sprouted spelt berries
- Organic hard red wheat
- Organic hard white wheat
- Einkorn ancient grains wheat seeds
- Bulgur wheat
- Steel-cut oats
- Prairie gold wheat berries
- Organic millet
- Whole oat groats
- Quinoa
- Hard red wheat berries
- Spelt berries
- Corn
- Kamut
- Durum
- Emmer
- Amaranth
Can I use a food processor to grind whole wheat berries?
Sadly, no. A food processor is designed to slice or shred food products. Not grind them. It's best to go with a proper mill to guarantee the right flour texture, amongst other things.
Additional Resources For Milling Wheat
I teach milling your own flour for many reasons. First are the nutritional benefits, which are highlighted in my Treasures of Healthy Living Bible Study and the Healthy Treasures Cookbook.
Besides the few I highlighted in this article, there’s a long list of benefits to milling your own wheat. (I use wheat or wheat berry as a generic term. Most millers use a variety of types of grain: spelt, kamut, durum, emmer, amaranth, etc.)
For more on these benefits, as well as a complete story of milling wheat, the background, types of grains and delicious recipes, the art of bread making and more, check out my Satisfied: Baking With Whole Grain Goodness book.
For this book, I took all the notes I taught from my baking classes to create the manuscript. It will answer ALL your questions and give you the tools you need for total baking success!
Final Thoughts
Every batch of home milled flour is a step closer to better health. While it may take some time to learn, making flour at home allows you to enjoy delicious baked goods guilt-free, all while treating your body to a smorgasbord of vitamins, minerals, and antioxidants.
It is also a wonderful skill to share with your friends, family, and children!
I’d love to share more with you about the amazing benefits of milling wheat at home and baking homemade bread with freshly ground flour. Check out all the resources on my website to know what to fill your pantry with for health success.
I’m so glad to be on this health journey with you!




Hello Annette. Thank you for your insightful piece. I and my wife are blessed by it. We hope to learn more.
So glad that this article was helpful!